The Ultimate Guide to Brake Pad Replacement at Home
Introduction to Brake Pad Replacement
Replacing brake pads at home can be a rewarding experience, saving you money and providing a sense of accomplishment. Whether you're a seasoned DIY enthusiast or a beginner, this guide will walk you through the process of replacing your brake pads safely and efficiently.

Tools and Materials Needed
Before you begin, it's important to gather all the necessary tools and materials. Here's a list of what you'll need:
- Jack and jack stands
- Lug wrench
- C-clamp or brake caliper tool
- Socket set
- Brake cleaner
- New brake pads
- Gloves and safety goggles
Having these tools on hand will make the process smoother and more efficient.
Preparing Your Vehicle
Your first step in brake pad replacement is preparing your vehicle. Begin by parking on a flat surface and engaging the parking brake. Loosen the lug nuts on the wheel where you'll be working, but don't remove them just yet. Use the jack to lift your vehicle and secure it with jack stands for safety.
Once your car is safely elevated, remove the lug nuts and take off the wheel to gain access to the brake assembly.

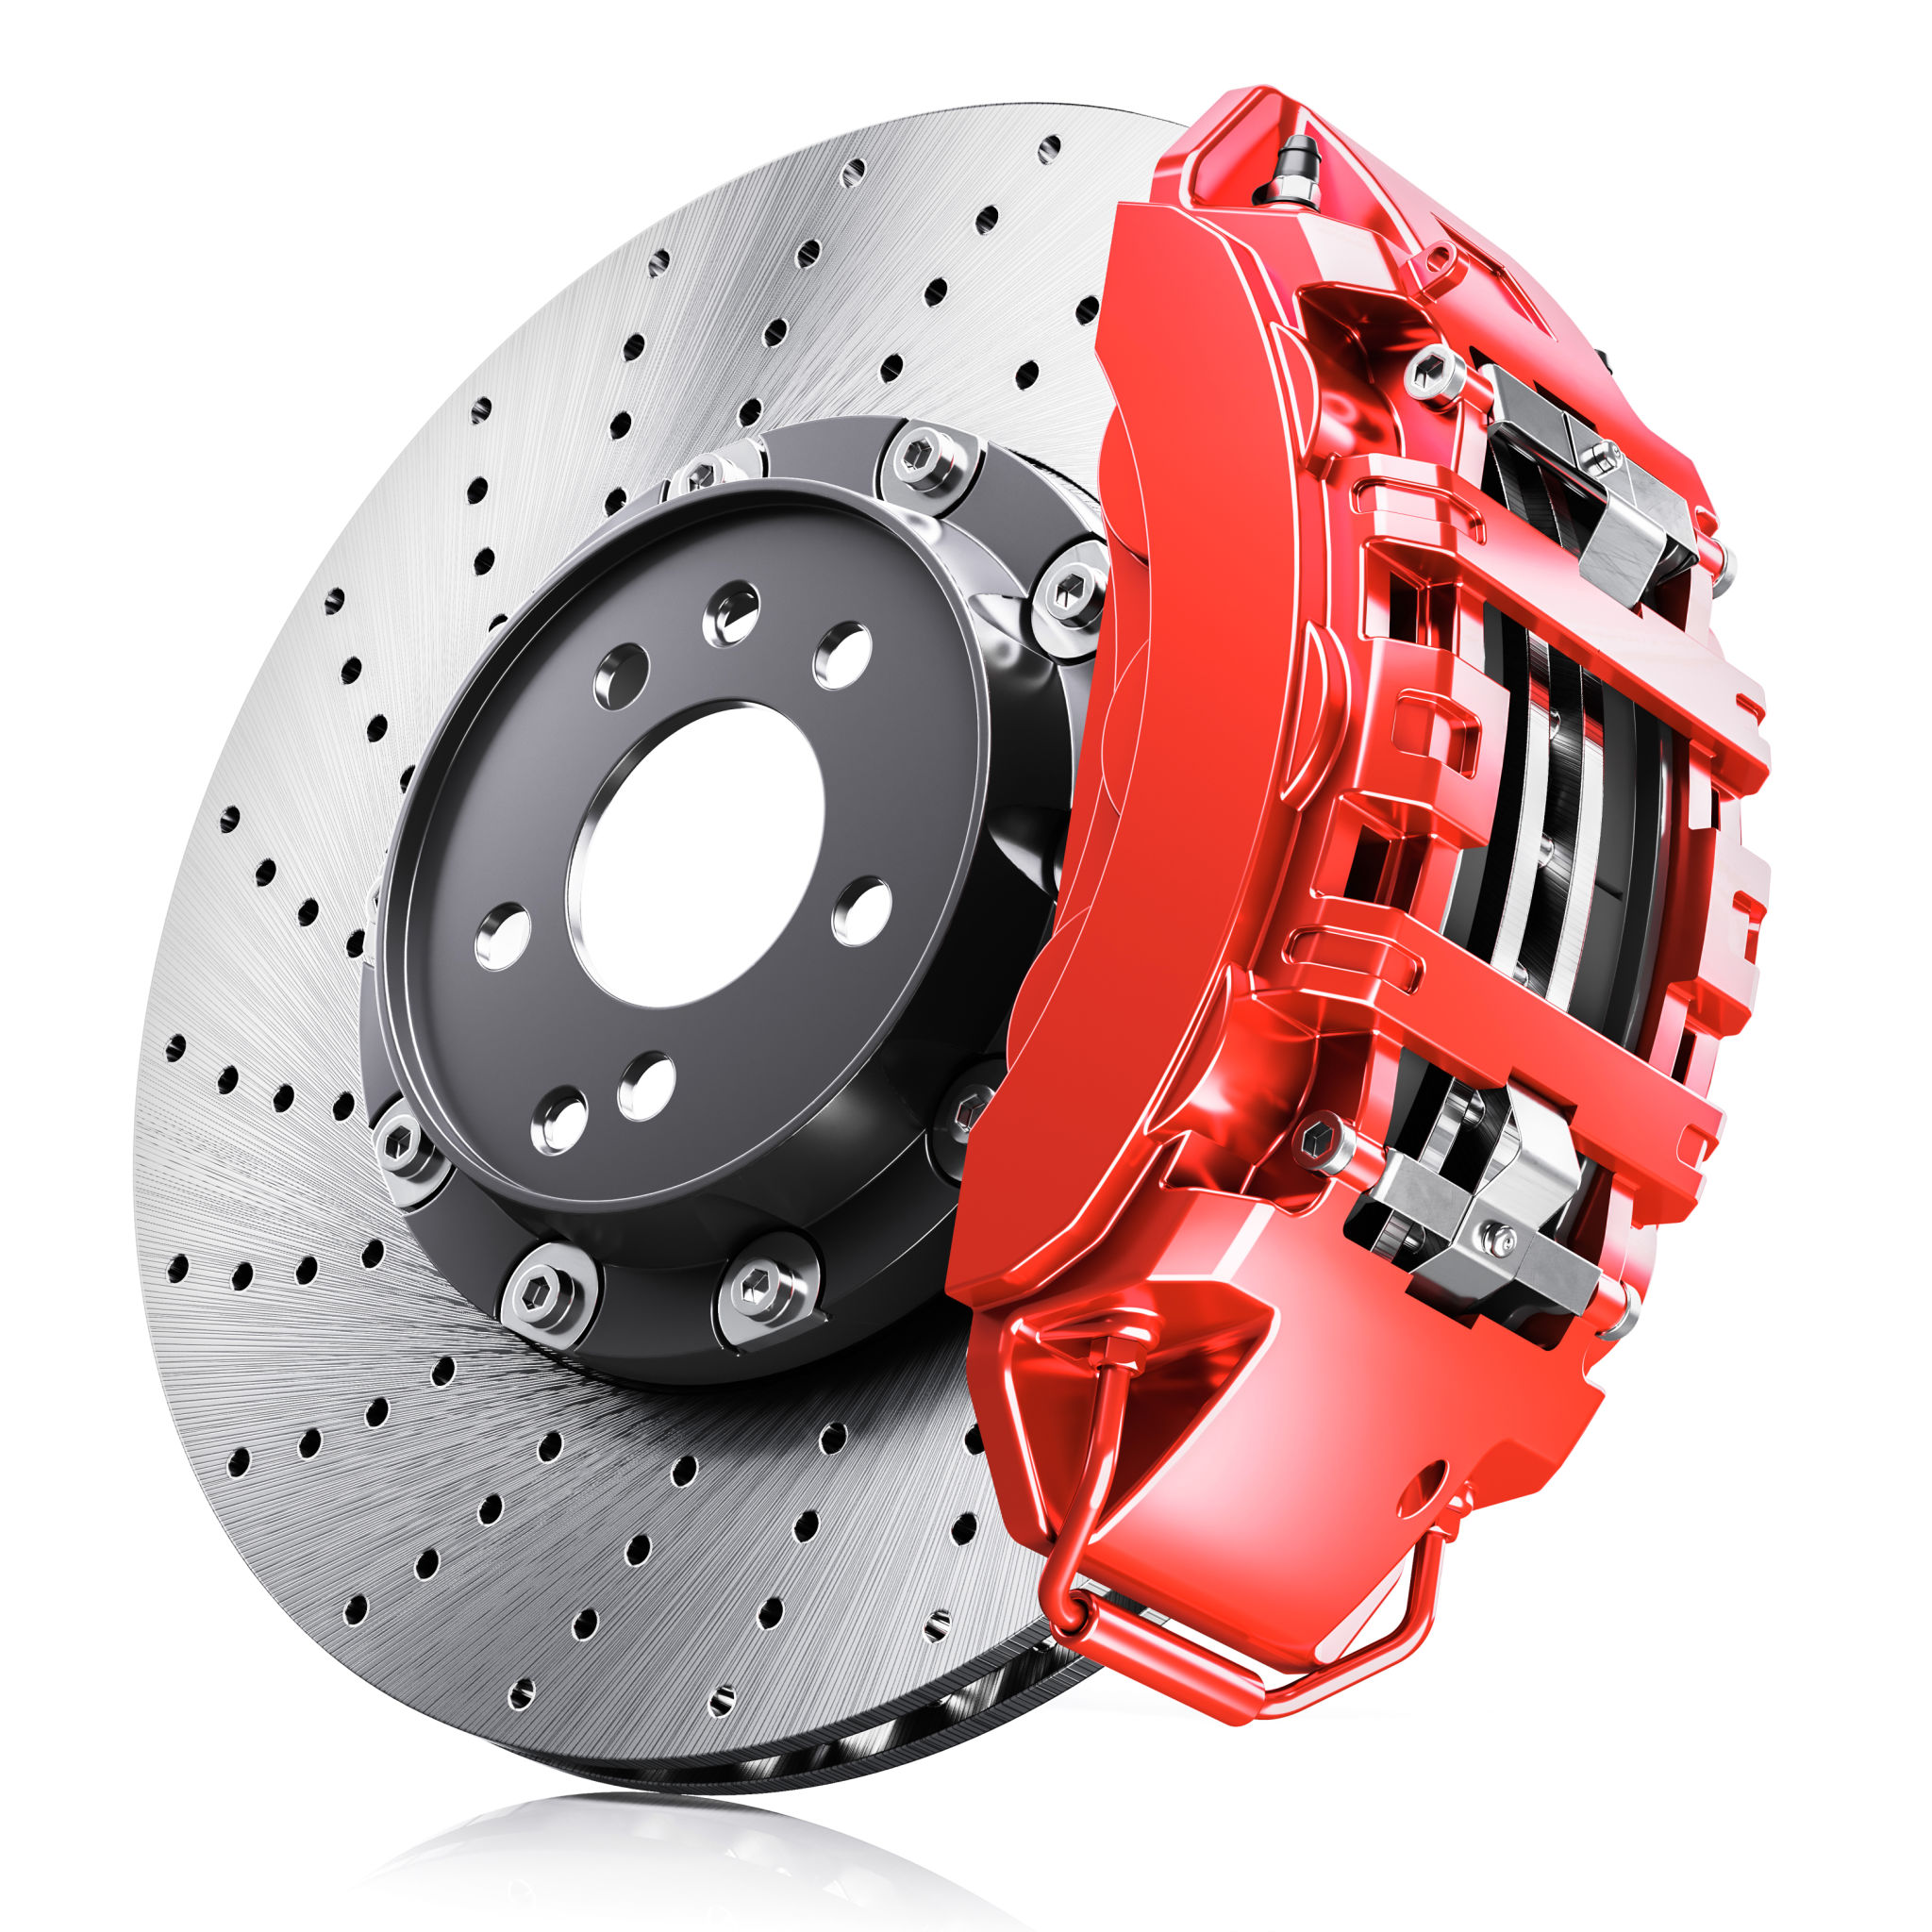
Removing Old Brake Pads
With the wheel removed, locate the brake caliper. You'll need to remove the caliper to access the brake pads. Use your socket set to remove the caliper bolts, and gently slide the caliper off the rotor. Be careful not to let the caliper hang by the brake line; instead, use a piece of wire or a bungee cord to secure it to the suspension.
Once the caliper is out of the way, remove the old brake pads from their slots in the caliper bracket.
Installing New Brake Pads
Before installing new brake pads, it's crucial to compress the caliper piston. Use a C-clamp or a brake caliper tool to carefully press the piston back into its bore. This step is necessary to create space for the new, thicker pads.
With the piston compressed, slide the new brake pads into place within the caliper bracket. Ensure that they are aligned properly and fit snugly.
Reassembling and Testing
After installing the new brake pads, reposition the caliper over them and secure it with the bolts you removed earlier. Make sure everything is tightened properly before moving on.
Reattach the wheel, hand-tighten the lug nuts, and then lower your vehicle back onto the ground. Once on solid ground, fully tighten the lug nuts in a crisscross pattern to ensure even pressure.
Final Checks and Safety Tips
Before hitting the road, pump your brakes a few times to ensure they are functioning correctly. This helps seat the new pads against the rotors. Additionally, take your vehicle for a short test drive to ensure everything feels right.
Remember: Always follow safety precautions when working on your vehicle, and consult your owner's manual for specific guidance related to your car model.
Conclusion
By following these steps, you can confidently replace your brake pads at home, saving on labor costs and gaining valuable DIY experience. Regular maintenance like this not only keeps your vehicle in top shape but also enhances your driving safety.